QuickBooks, a widely used accounting software, plays a pivotal role in modern business accounting. Its robust features and user-friendly interface have made it an essential tool for businesses of all sizes. From managing financial transactions to generating reports, QuickBooks streamlines processes and provides valuable insights. In this introduction, we’ll delve into the significance of QuickBooks in business accounting.
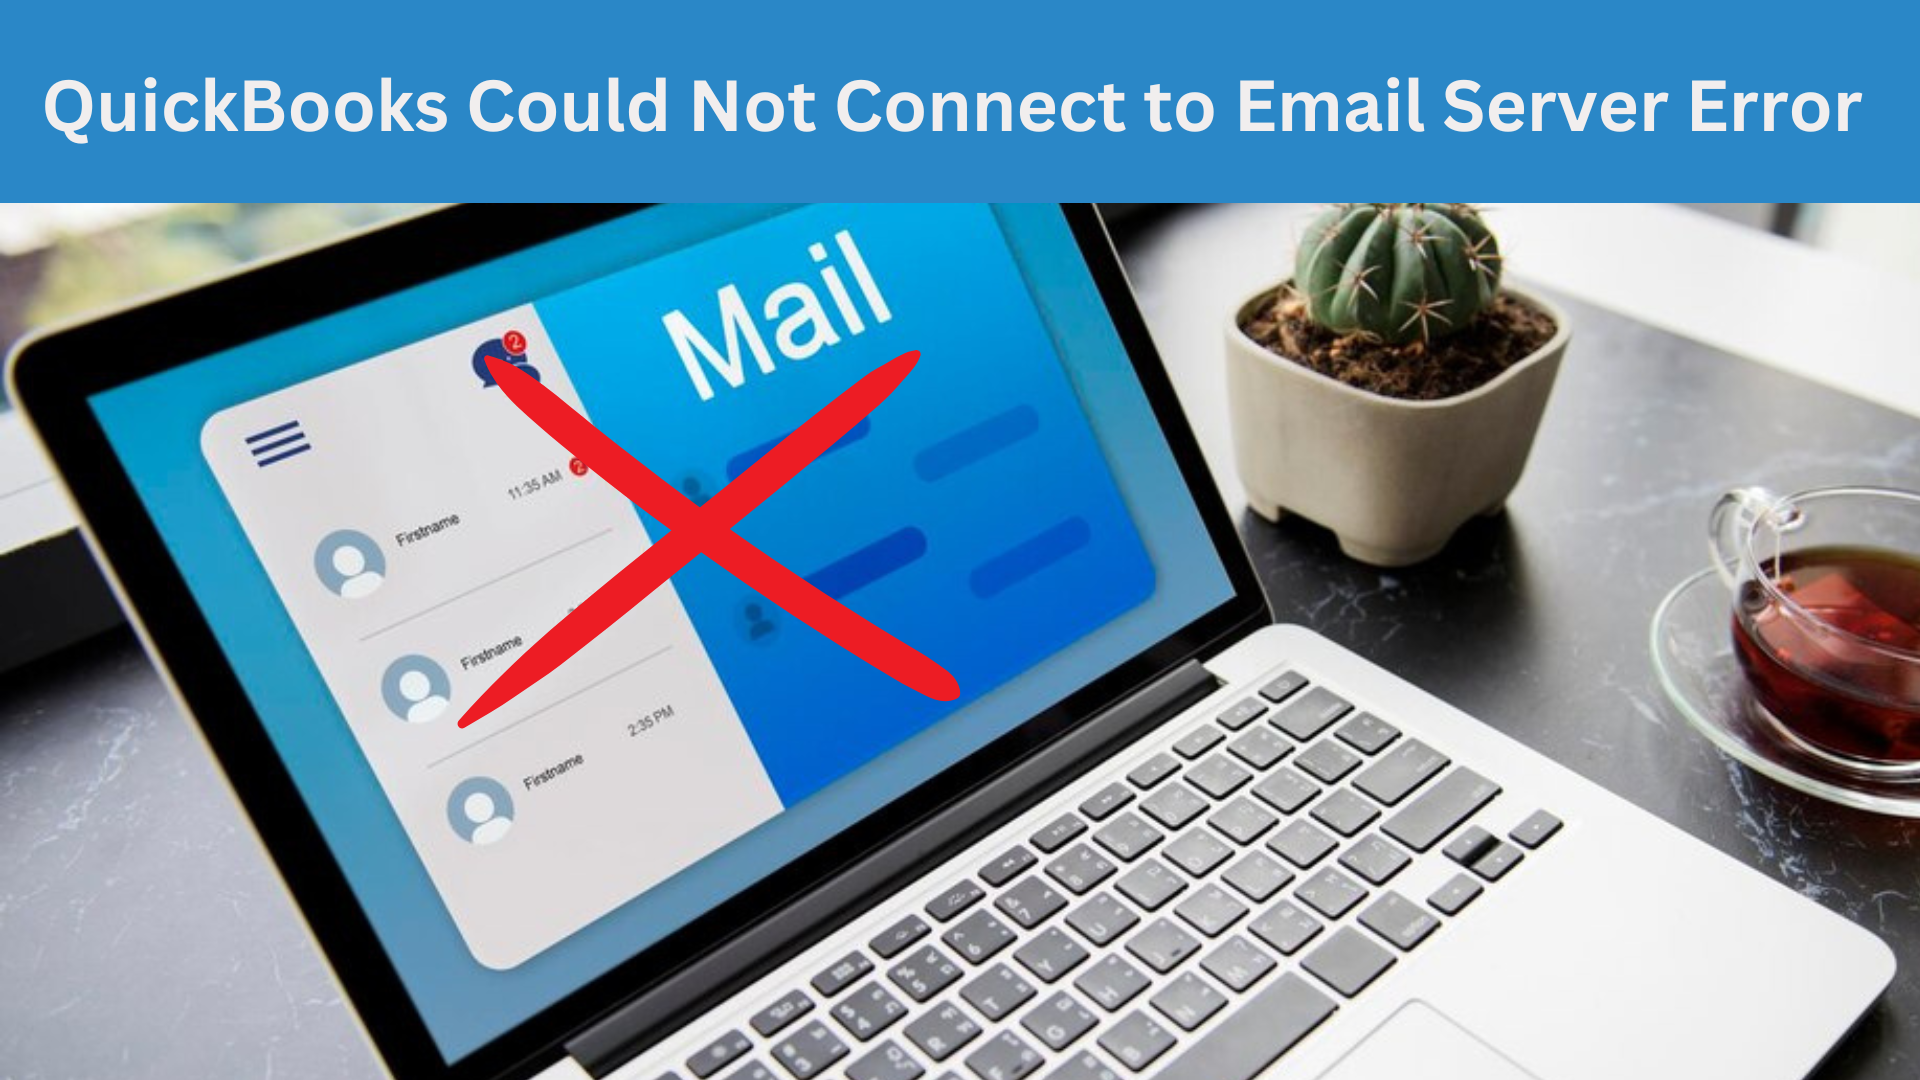
Despite its efficiency, QuickBooks users occasionally encounter the frustrating “QuickBooks Could Not Connect to Email Server Error.” This issue disrupts communication channels, affecting critical tasks like sending invoices, reports, and statements via email. In the following sections, we’ll explore the causes of this error and provide effective troubleshooting steps to resolve it.
Understanding the QuickBooks “Could Not Connect to Email Server” Error
The “Could Not Connect to Email Server” error in QuickBooks occurs when the software is unable to establish a connection with the designated email server. This error message can be frustrating for users who rely on QuickBooks for their business operations. Let’s delve into the specifics of this issue:
Possible Causes:
- Incorrect Email Settings: One common cause is incorrect email configuration within QuickBooks. This includes incorrect SMTP server settings, port numbers, or authentication details.
- Firewall or Antivirus Restrictions: Sometimes, security software or firewalls may block QuickBooks from connecting to the email server.
- Network Issues: Network disruptions, slow internet connections, or server downtime can also trigger this error.
- Outdated QuickBooks Version: Running an outdated version of QuickBooks may lead to compatibility issues with email servers.
Common Scenarios When This Error Might Occur:
- Sending Invoices or Reports: When attempting to send invoices, reports, or other documents via email directly from QuickBooks.
- Setting Up Email Preferences: During the initial setup of email preferences within QuickBooks.
- Scheduled Reports: If you have scheduled reports to be emailed automatically, this error may occur if the connection fails.
Impact on Business Operations:
- Delayed Communication: Inability to send invoices, purchase orders, or other critical documents via email can disrupt communication with clients, vendors, and employees.
- Missed Deadlines: If the error prevents timely delivery of invoices or other time-sensitive information, it can lead to missed payment deadlines or delayed business processes.
- Efficiency Loss: Manual workarounds (such as saving files and sending them manually) can be time-consuming and inefficient.
To resolve this error, users should verify their email settings, check for any network issues, and ensure they are using an updated version of QuickBooks. Additionally, consulting QuickBooks IT professionals can help troubleshoot and resolve the issue effectively. Remember that addressing this error promptly is crucial to maintaining smooth business operations.
Common Causes of the QuickBooks “Could Not Connect to Email Server” Error
When encountering the “Could Not Connect to Email Server” error in QuickBooks, it’s essential to identify the underlying issues to resolve them effectively. Below are the common causes and potential solutions:
- Incorrect Email Settings in QuickBooks:
Cause: Incorrectly configured email settings within QuickBooks can lead to connectivity problems. This includes incorrect SMTP server details, port numbers, or login credentials.
Solution: Verify and update the email settings in QuickBooks. Double-check the SMTP server address, port, and authentication details. Ensure that the email address associated with QuickBooks is accurate.
- Problems with the Email Server:
Cause: Sometimes, the issue lies with the email server itself. It could be down, experiencing maintenance, or facing other technical difficulties.
Solution: Confirm that the email server is operational. Test sending an email from another application to verify its functionality. If the server is down, wait for it to be restored.
- Network Connectivity Issues:
Cause: Poor network connectivity can prevent QuickBooks from connecting to the email server. Firewall settings, proxy configurations, or unstable internet connections may contribute to this issue.
Solution:
- Check your internet connection: Ensure that you have a stable and active internet connection.
- Firewall settings: Configure your firewall to allow QuickBooks to communicate with the email server.
- Proxy settings: If using a proxy, ensure it doesn’t block QuickBooks’ communication.
- Permissions: Grant necessary permissions to QuickBooks for network access.
- Outdated QuickBooks Software:
Cause: Using an outdated version of QuickBooks may result in compatibility issues with email services.
Solution: Regularly update QuickBooks to the latest version. Updates often include bug fixes and improvements related to email functionality. Visit the official QuickBooks website to download the latest release.
Remember to address these causes systematically. If the error persists, consider seeking professional assistance for further guidance. By troubleshooting these common issues, you can ensure smooth communication between QuickBooks and your email server.
Troubleshooting the QuickBooks “Could Not Connect to Email Server” Error
If you’re encountering the “Could Not Connect to Email Server” error in QuickBooks, follow this step-by-step guide to resolve it:
Solution 1: Verifying and Correcting Email Settings in QuickBooks
- Open QuickBooks and navigate to the Edit menu.
- Select Preferences and then click on Send Forms.
- Ensure that the correct email account is selected.
- Review the SMTP server settings (such as server name, port, and encryption) and make necessary corrections.
- Test the email settings by sending a test email.
Solution 2: Checking Email Server and Network Connectivity
- Confirm that your email server is operational and accessible.
- Check your internet connection and ensure that there are no network issues.
- Verify that the email server’s settings match those configured in QuickBooks.
Solution 3: Updating QuickBooks to the Latest Version
Outdated software can cause compatibility issues. Update QuickBooks to the latest version available.
- Go to the Help menu and select Update QuickBooks.
- Follow the prompts to download and install any available updates.
Tips and Precautions:
- Regularly back up your QuickBooks data to prevent data loss during troubleshooting.
- Consult your IT professional if you encounter difficulties during the troubleshooting process.
Advanced Solutions: “QuickBooks Could Not Connect to Email Server” Error
QuickBooks is a robust accounting program that helps companies manage their finances more easily. But it can make mistakes, just like any other software. One common issue faced by QuickBooks users is the “Could Not Connect to Email Server” error. This error prevents QuickBooks from sending emails directly from the application. In this article, we’ll explore advanced solutions to resolve this issue.
- Contacting the Email Service Provider
Before diving into technical solutions, consider reaching out to your email service provider. Sometimes, the issue lies with the email server configuration. Follow these steps:
- Check Email Settings:
- Verify that you’ve entered the correct email settings in QuickBooks.
- Ensure that the SMTP (Simple Mail Transfer Protocol) server, port, and security settings are accurate.
- Double-check your email address and password.
- Test Email Settings:
- In QuickBooks, go to Edit > Preferences > Send Forms.
- Click My Preferences and select your email provider.
- Click Test Settings to verify the connection.
- Contact Support:
- If the issue persists, contact your email service provider’s support team.
- They can guide you through any necessary adjustments or provide specific settings for QuickBooks integration.
2. Using QuickBooks Tools
QuickBooks offers built-in tools to diagnose and fix common issues. Here’s how to use them:
- QuickBooks File Doctor:
The QuickBooks File Doctor is a diagnostic tool that can repair various issues, including email-related problems.
- Download and run the QuickBooks Tool Hub from the official Intuit website.
- Open the Tool Hub and click on Company File Issues.
- Select Run QuickBooks File Doctor and follow the prompts.
- The tool will scan and repair any issues related to email connectivity.
- Reinstalling QuickBooks:
Sometimes, a fresh installation can resolve persistent errors.
- Uninstall QuickBooks from your system.
- Download the latest version from the official website and reinstall it.
- During installation, ensure that you choose the correct email settings.
3. Additional Tips
- Firewall and Antivirus Settings:
- Check your firewall and antivirus settings. Sometimes, they block QuickBooks from connecting to the email server.
- Add QuickBooks as an exception to your firewall rules.
- Update QuickBooks:
- Ensure that you’re using the latest version of QuickBooks.
- Updates often include bug fixes and improvements related to email functionality.
- Check Email Permissions:
- Verify that your email account has the necessary permissions to send emails.
- Some email providers require you to enable “less secure apps” in your account settings.
- Test with a Different Email Account:
- Try configuring QuickBooks with a different email account to see if the issue persists.
- This helps identify whether the problem lies with the software or the specific email account.
In short, resolving the “Could Not Connect to Email Server” error involves a combination of technical troubleshooting and communication with your email service provider. By following these advanced solutions, you can overcome this obstacle and continue using QuickBooks seamlessly for your business needs.
Remember to always back up your QuickBooks data before making significant changes to avoid data loss. If the issue persists, consider seeking professional assistance to ensure a smooth resolution.
Read also: QuickBooks Tool Hub
Preventing Future QuickBooks “Could Not Connect to Email Server” Error
When using QuickBooks, encountering an error related to email connectivity can be frustrating. The dreaded “Could Not Connect to Email Server” message can disrupt your workflow and hinder communication. To prevent this issue and ensure smooth operations, consider the following steps:
- Regularly Updating QuickBooks:
- Keeping your QuickBooks software up-to-date is crucial. Regular updates often include bug fixes and security enhancements. By staying current, you reduce the risk of encountering email-related errors.
- Set up automatic updates or check for updates manually to ensure you’re running the latest version.
- Regularly Checking and Updating Email Settings:
- Incorrect email settings can lead to connectivity problems. Verify that your email configuration within QuickBooks is accurate:
- SMTP/IMAP Settings: Double-check the server addresses, ports, and encryption settings.
- Username and Password: Ensure your login credentials are correct.
- Firewall and Antivirus Settings: Sometimes security software can block email communication. Whitelist QuickBooks and your email client to prevent conflicts.
- Test Email: Send a test email from within QuickBooks to verify that it’s working correctly.
- Importance of Reliable Network Connections:
- A stable network connection is essential for successful email communication. Consider the following:
- Internet Connection: Make sure your internet connection is stable. Unreliable networks can cause intermittent email errors.
- VPN or Proxy: If you use a VPN or proxy, ensure it doesn’t interfere with email traffic.
- Server Downtime: Check if your email server is experiencing any downtime or maintenance.
By following these preventive measures, you can minimize the chances of encountering the “Could Not Connect to Email Server” error in QuickBooks. Remember that proactive maintenance and attention to detail play a significant role in keeping your accounting software running smoothly.
Conclusion
In summary, addressing the “QuickBooks Could Not Connect to Email Server Error” promptly is crucial for several reasons. Let’s recap its importance:
- Business Continuity: QuickBooks is an essential tool for managing financial data and transactions. Any interruption due to email server errors can disrupt business operations, affecting invoicing, payroll, and financial reporting.
- Communication Efficiency: Email is a primary communication channel for businesses. Errors preventing QuickBooks from connecting to the email server hinder communication with clients, vendors, and employees.
- Data Security: Delayed error resolution may expose sensitive financial information. Timely action ensures data security and prevents unauthorized access.
- Financial Accuracy: QuickBooks relies on accurate data exchange. Email server errors can lead to discrepancies in financial records, affecting decision-making and compliance.
While troubleshooting steps are available online, seeking professional assistance is advisable. Here’s why:
- Expertise: Certified QuickBooks professionals understand the software intricacies and can diagnose issues efficiently.
- Custom Solutions: Each business setup is unique. Professionals tailor solutions to your specific needs, minimizing downtime.
- Time-Saving: Professionals can resolve errors swiftly, allowing you to focus on core business activities.
Remember, timely resolution of the email server error ensures smooth financial management and business continuity. Don’t hesitate to seek professional help if needed!